BTO move-in cleaning checklist: from keys to moving day
Collect the keys, report defects within a month, renovate, then clean in stages before you move in. The whole BTO sequence, with what an hourly cleaner covers.
By the HomeMaster team · · Updated · 5 min read
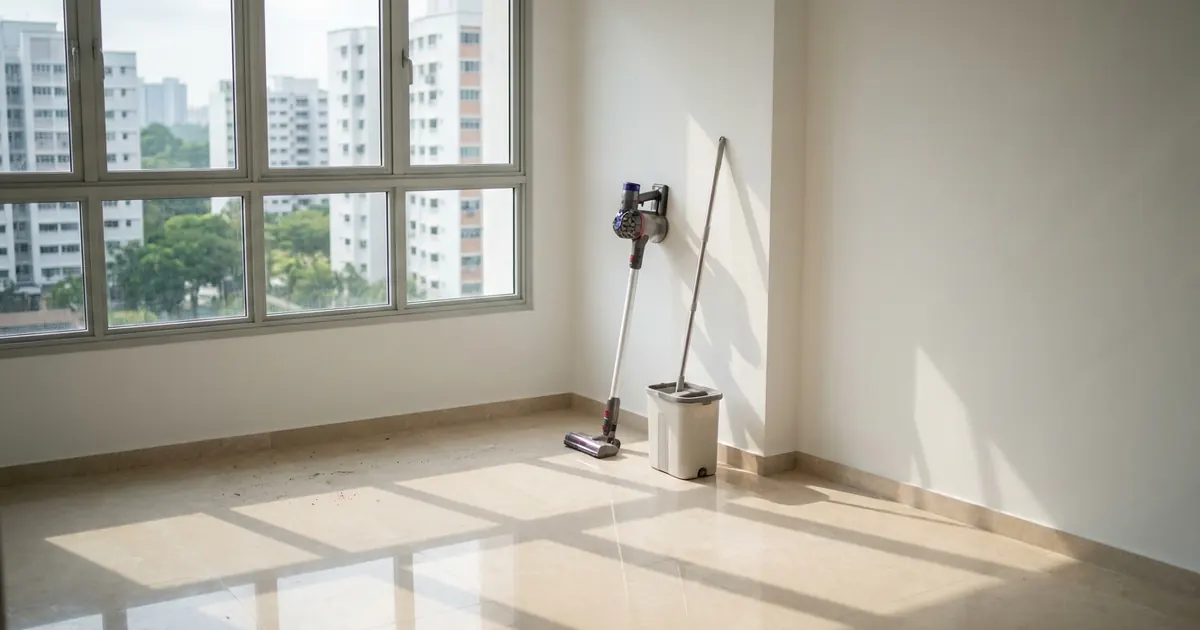
Moving into a BTO flat goes in a set order: collect the keys, inspect and report defects within the first month, renovate, clean in stages once the dust stops, and move in. The cleaning belongs near the end, not the start. A quick wipe helps you see the surfaces during the defect check, but the real work comes after renovation, in at least two rounds: one for the renovation dust and one after the furniture arrives.
The sequence at a glance
| Stage | What happens | The cleaning |
|---|---|---|
| 1. Key collection | Pay the balance and collect the keys at your appointment | None yet |
| 2. The first month | Inspect the flat and report defects to HDB | A light wipe where it helps you see |
| 3. Renovation | Your DRC contractor carries out the works | Protect finished surfaces; no real cleaning |
| 4. After renovation | Debris cleared, dust still settling | Dust-down in one or more sessions |
| 5. Fit-out | Aircon, appliances, lights and furniture arrive | Keep it light |
| 6. Before moving in | The flat is complete | The final clean, inside every cabinet |
| 7. Moving in | Boxes, then settling in | Your first regular clean |
Stage 1 and 2: keys, then defects
HDB's key collection page asks buyers to check the appointment date and time on the MyHDB page and to pay the balance purchase price in full before collecting the keys.
After that, the clock that matters is HDB's defects timeline. New HDB flats are covered by a 1-year Defects Liability Period (DLP) from the date of key collection. HDB asks owners to report items that need fixing within 1 month of key collection and before renovation works begin, because that saves investigating whether a defect came from construction or from the renovation. Requests can be made online or at the Building Service Centre in your precinct, and HDB says repairs usually take less than 2 weeks.
For cleaning, that means two things:
- Inspect before you clean properly. A dry cloth over tiles and counters helps you see chips, stains and scratches in the site dust, but there is no point in a full clean before renovation.
- Photograph the flat as you received it. Dated photos help if a question comes up later about whether a mark was there before the works.
Stage 3: during renovation
HDB requires you to engage a contractor from its Directory of Renovation Contractors (DRC) for renovations in your flat, even for works that do not need HDB's approval, and any demolition or hacking of walls needs HDB's written approval first. Plumbing, electrical, gas and window works need appropriately licensed people, which HDB lists on its renovation permit page.
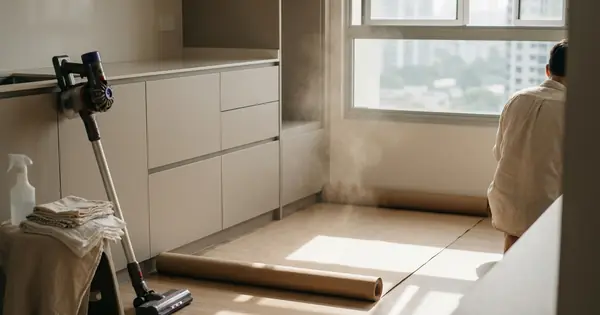
While the works go on, cleaning is mostly about protection. Ask your contractor how floors, built-in fittings and windows will be covered, and ask exactly what cleaning is included at the end of the job. Some contracts include a basic clean or debris removal and some do not, so find out before you plan your own sessions.
Stage 4 and 5: after renovation and the fit-out
Renovation dust is fine and keeps settling for days, so the first clean after the works is a dust-down, not a finish. Plan on vacuuming and wiping every surface, inside and out, at least twice. If the aircon ran during the works or was installed early, its filters have probably taken in dust, and a general servicing visit clears them.
Some leftovers are not for a home cleaner: paint splatter, cement or grout haze on tiles, and stubborn glue need the renovation contractor or a post-renovation crew. Get those dealt with first, then book the hourly cleans.
Stage 6 and 7: the final clean, then moving in
This is the clean that makes the flat feel like a home. Do it once the carpentry, appliances and furniture are in, and before the boxes arrive:
- Inside every cabinet, drawer and wardrobe, because dust collects there and your crockery and clothes go in next.
- Kitchen: counters, sink, hob, hood, cabinet fronts, and inside the fridge and oven before first use.
- Bathrooms: toilets, basins, taps, shower screens, mirrors and floor traps.
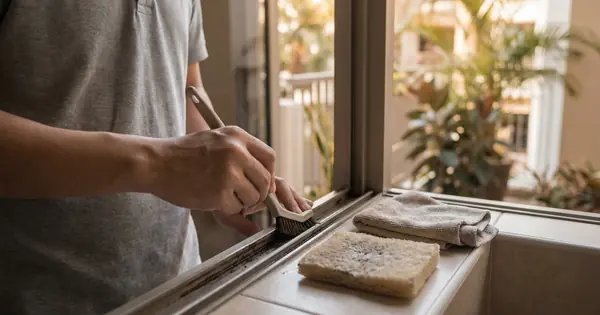
- Windows and doors: frames, tracks and sills reachable safely from inside, grilles, handles and switches.
- Light fittings and fans, before you start using them.
- Floors last: vacuum, then mop, finishing at the front door.
Before the session, make sure the water and electricity accounts are running. HDB's moving-in checklist includes setting up your utilities account with SP, updating your address with ICA and ensuring you have fire insurance, among other tasks.
Moving in and the first few weeks
Moving day brings in dust from boxes and shoes. Unpack the kitchen and bathrooms first, and give it a week or two before booking a regular clean, so the cleaner is not working around boxes. Our guide to cleaning hours by flat type helps you choose a regular session length.
What an hourly cleaner covers, and how many sessions
An hourly home cleaner handles the dust-down and the final clean: vacuuming, wiping every surface inside and out, bathrooms, the kitchen and floors. With HomeMaster, sessions are 2, 3 or 4 hours with one cleaner per visit, so a new flat is usually two sessions or more across the stages: at least one after renovation and one before moving in. A 4-room or 5-room flat often needs two sessions for the post-renovation stage alone. Our cleaning services guide is candid about the specialist jobs we do not do.
How it works with HomeMaster
Tell Helen, our AI assistant on WhatsApp, that it is a new BTO flat, where you are in the sequence, and when you plan to move in. She suggests how to split the sessions and shows real open times and the exact price. A one-off 3 to 4 hour session is $25/hour, with no surcharge on weekends or public holidays. More on single visits is on our one-off cleaning page.
A new flat has no vacuum cleaner or mop yet, and the cleaner needs both, so buy them before the first session; a vacuum with a crevice nozzle and brush attachment helps with renovation dust. Apart from those two, your cleaner brings the cloths, brushes, a scrub pad, bin bags and a multi-purpose cleaner. If your new surfaces need a particular product, such as a cleaner for natural stone or sealed timber, leave that out as well. Our list of cleaning supplies to have ready has the details.
Frequently asked questions
When should I clean my new BTO flat?
Properly, after renovation, and again before you move in. Before the works, a light wipe during the defect inspection is enough. Once the renovation dust has settled, do a dust-down, then a final clean inside every cabinet after the carpentry and furniture are in and before the boxes arrive.
How long do I have to report defects in a new HDB flat?
HDB asks owners to report defects within 1 month of key collection and before renovation works begin. New flats are covered by a 1-year Defects Liability Period from key collection, and requests can be made online or at the Building Service Centre in your precinct.
Should I clean before the defect inspection?
Only lightly. A dry cloth over tiles, counters and fittings helps you see chips and stains in the site dust. A full clean is wasted before renovation, because the works bring in far more dust. Photograph the flat as you received it.
How many cleaning sessions does a new BTO flat need?
Usually two or more: at least one after renovation to remove the dust, and a final clean before moving in. A 4 or 5-room flat often needs two sessions for the post-renovation dust alone. With HomeMaster each session is up to 4 hours with one cleaner.
Sources
- Rectification of defects in new flats, Housing & Development Board
- Key collection, Housing & Development Board
- Important information on renovations, Housing & Development Board
- Application for a renovation permit, Housing & Development Board
- Checklist for moving into flat, Housing & Development Board
Need a hand at home?
Tell Helen what you need on WhatsApp. She replies with real open times and the exact price, GST included, and weekends cost the same as weekdays.